|
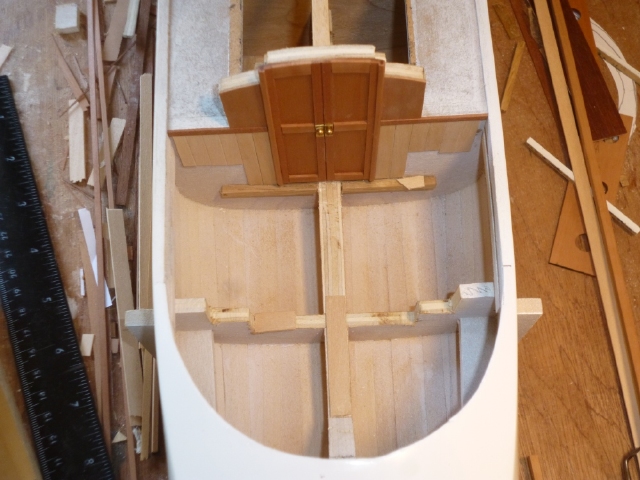
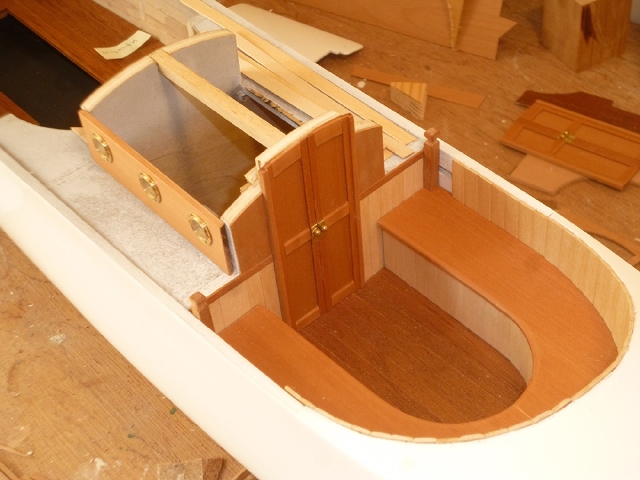
The aft well deck is more complicated because it has a seat that must be incorporated. The structure is built from the bottom up and I found it easier to assemble it outside the hull, but with frequent test fits.
Now is a good time to divert a little and work on the front of the cabin, because the aft well assembly will bear against it. With reference to the plans, use pear veneer and pear strip to assemble the door and surrounding panels in situ on the rear face of F9. Be sure to get the height of the door exactly right to fit the hatch which will later fit onto it. The handles are made from brass strip and brass spheres flatted on one side.
|
 |
|
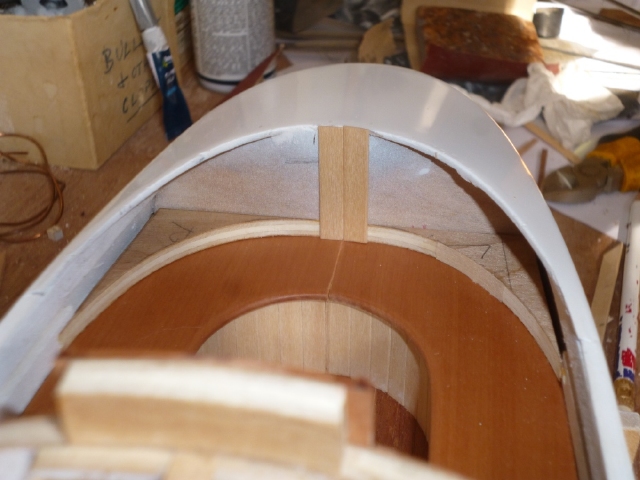
Cut the floor of the aft well from 2mm ply sheet. It doesn't have to fit the whole well perfectly, but must be wide enough to take supporting blocks between F9 and F10 for the seat fronts as shown in the photo. When these blocks are fitted, cut a semi-circular former from 4mm ply and glue it to the floor. This will form the curve in the seating later.
|
 |
|
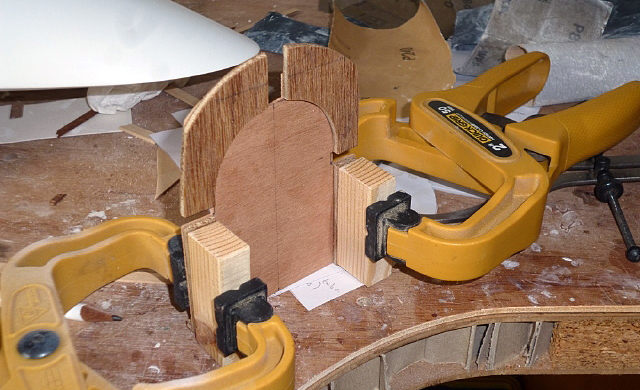
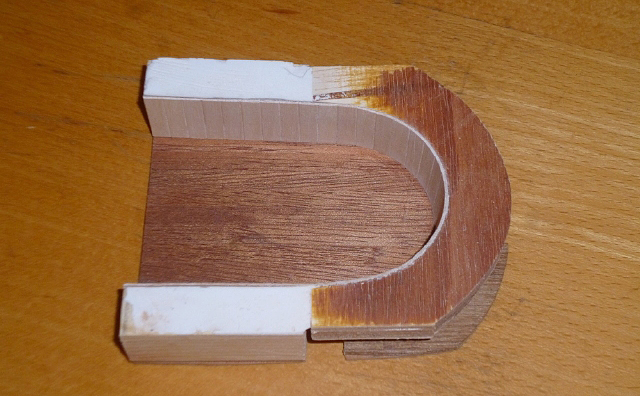
Using 0.5mm ply sheet make the U-shape needed as a backing for the vertical planking between the floor and the seating. Here you can see the assembly being test-fitted. |
 |
| Make another semi-circular former from 4mm ply and glue it around the top of the U-shape and onto the back of F10. This will help to support the seat. |
 |
|
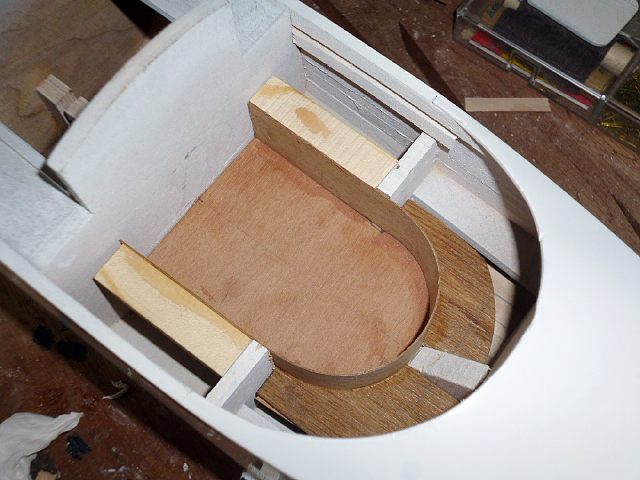
Cut and fit the lower vertical planking from 6x1.5mm lime strips, rounding the sides to match the forward well planking. Use a disk sander to trim the ends perfectly flush with the blocks and upper U-shaped former.
When you're satisfied all is correct, glue the aft well deck assembly in place.
|
 |
|
The seating is made from two symmetrical pieces of 2mm pear sheet because a single piece won't fit inside the gunwales. Use a cardboard template first to get the shape exact. Note that the seat must extend completely to the front of F11 because formers for the upper planking will be needed here.
Add one lime plank inside each gunwale, flush with the top edges, between F9 and F11. This will support the vertical planking later. |
 |
|
Cut and fit the two quadrant formers which will support the base of the upper vertical planking, making sure they match the curve on the aft deck above.
|
 |
|
Cut
and fit the upper vertical planking from 6x1.5mm lime strips, rounding the sides
as before. Start from the rear and work forwards to F9, ensuring that they stay
vertical. If they risk starting to lean, taper slightly to bring them back to
vertical.
Before you reach the cabin, make the four mooring posts from 4x4mm pear strip, filed to profile at the top and with a short length of stout brass wire inserted horizontally. There are two in the aft well and two on the foredeck. Fit the aft ones now, but save the front ones for later.
|
 |
|
|