|
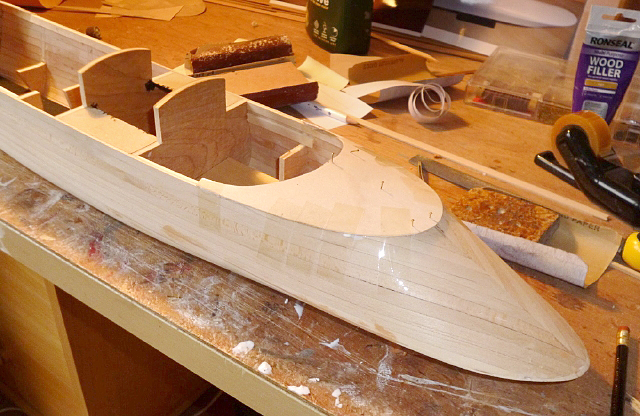
PLANKING
This is done with 7x2mm lime strips for flexibility, even grain and ease of working.
With sandpaper or a coarse file, bevel the edges of the formers, infills and chines to ensure a smooth even curve along the hull. Where the angles are most acute, eg at the prow and stern, the bevels will most significant. Offer up a plank to test the angles. When everything looks exactly right, you can start the planking. Start at the top of the hull, ie the gunwales. Use steam to create the curves and twists as accurately as you can before fitting each plank. For the first plank on each side, glue them to the centre (straight) section of the boat first, then work towards both ends. Add glue along the edges too for strong joins without gaps. At the front the planks will curve up naturally above the deck.
|
 |
| At the rear the planks will curve down and inwards towards the centre line. When the glue is dry, trim the rear ends of these planks down the centre line of the keelson. | 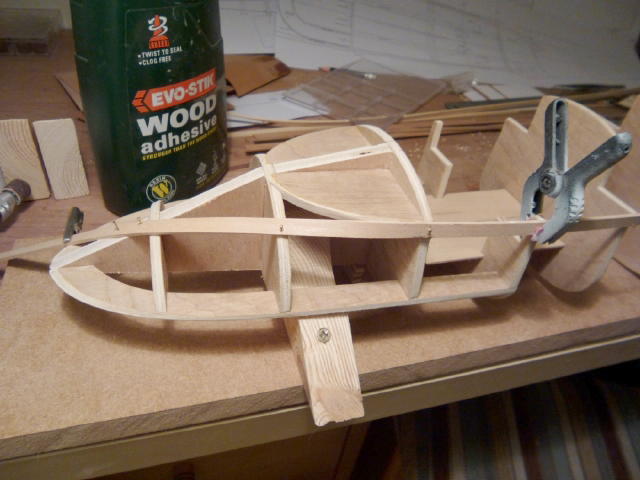 |
|
Then
work down the hull to the waterline, adding planks equally on each side.
|
 |
|
At the bow, the
planks will naturally splay out. Fill the gaps with tapered offcuts
('stealers')
|
 |
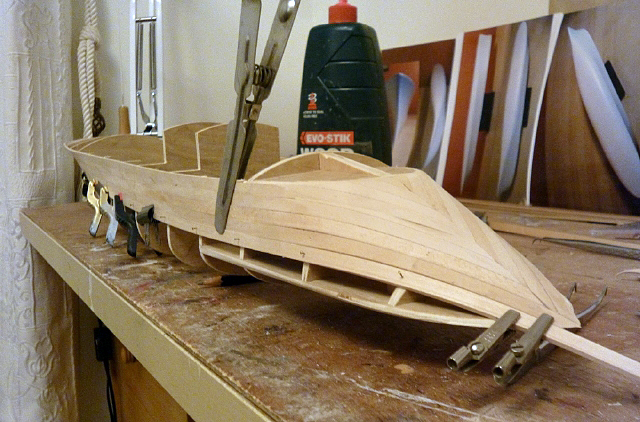
| Continue planking down the hull, negotiating the rear chine as you get to it. Note how the planks are fitted and trimmed over the pointed stern. | 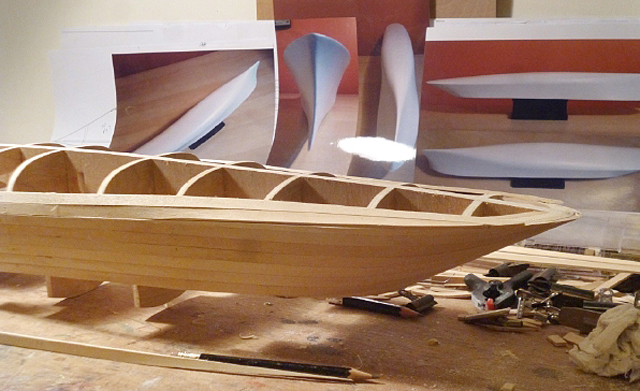 |
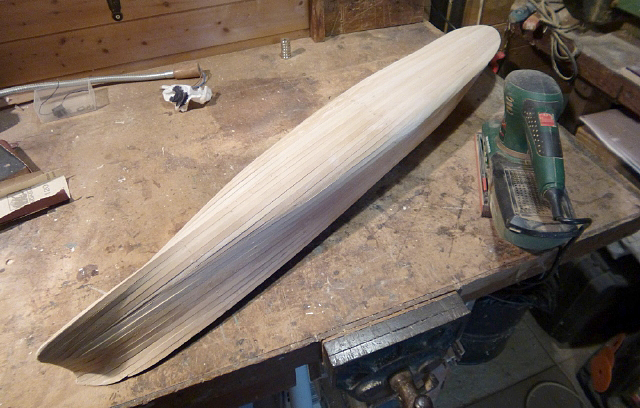
| Keep adding planks on alternate sides until the bottom of the keelson is covered. | 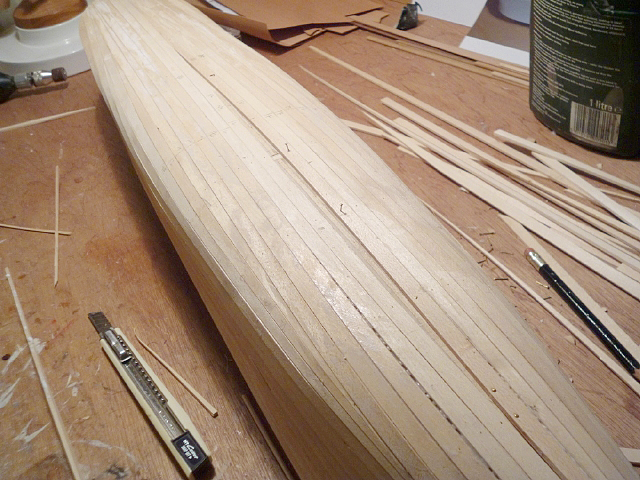 |
| The upper part of the hull behind the aft deck needs to be planked separately, again trimmed down the centre line of the keelson. Take care to leave the correct shape for the small aft deck which will fitted later. | 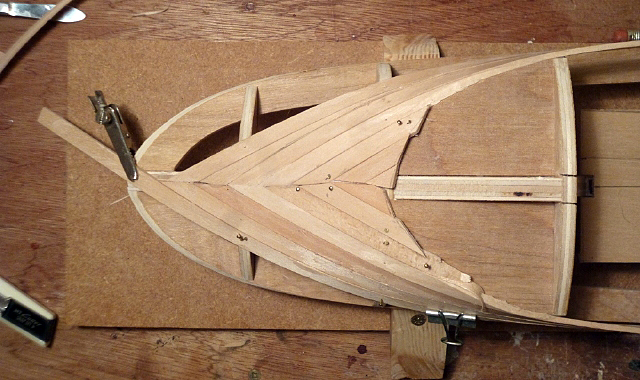 |
|
SANDING At this stage the planked hull will look very rough, but if you've done it correctly, the beautiful lines of Project X0.67 are inside. Now you must sand, carve and perhaps fill until you get the shape exactly right. Time spent now will pay off handsomely in the end! |
 |
|
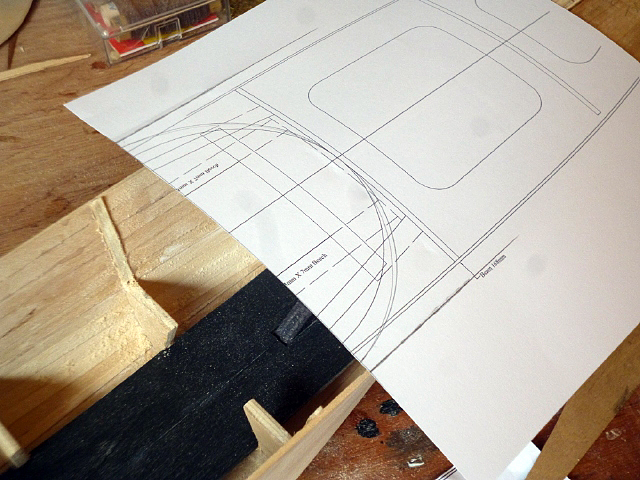
UPPER DECKS The fore and aft upper decks are cut from 1mm ply using the plan as a guide, but allow extra width because they curve down towards the gunwales. These decks also form the curved ends of the well decks, so take time to get these curves right and fix the decks in exactly in right position fore and aft, ie flush with the rear of F4 and the front of F11. |
|