|
These are the parts that
really give the model the 'wow' factor. With patience and thinking (and a lathe you can turn
metal on) you'll be able to do it.
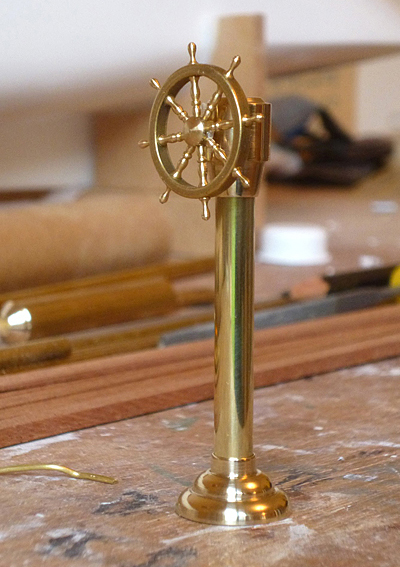
STEERING ASSEMBLY This is made from four parts – base, stem, top section and wheel. The base and stem are turned from brass rod; the stem is brass tube. The wheel is a commercially available model boat part.
|
|
|
STEAM PIPES In our model, imaginary steam travels between the boiler and the engine using 2mm diameter copper rod which simulates steam pipes. There are four in total, the ends of which fit into 3mm brass rod, drilled either end-on or at right angles. The effect is completed by short lengths of 4mm hex bar, drilled out until it slides over the relevant piece of rod or tube to simulate a nut. This combination makes a very realistic-looking coupling. Where the pipes go through the deck I used brass eyelets with the flanges hammered flat. You can drill the deck and put the pipes through if you wish, or just cut the pipe at deck level - it's very hard to tell the difference. Study the photographs of the completed model to see exactly what needs to be made and where it goes. It may look complex, but just take it one step at a time. |
 |
|
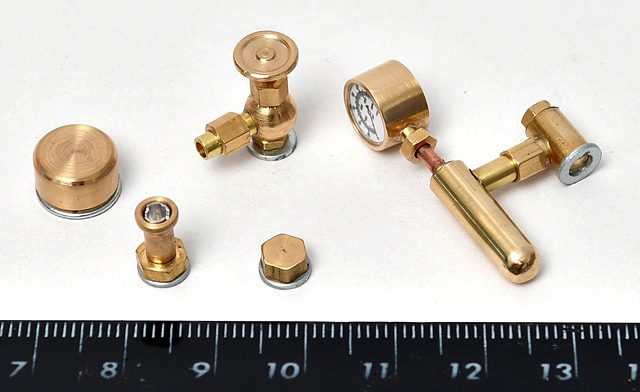
ENGINE FITTINGS Here are the fittings for the top of the boiler. Each one is constructed from combinations of brass rod and 4mm or 5mm hex bar. Plain washers underneath simulate mountings.
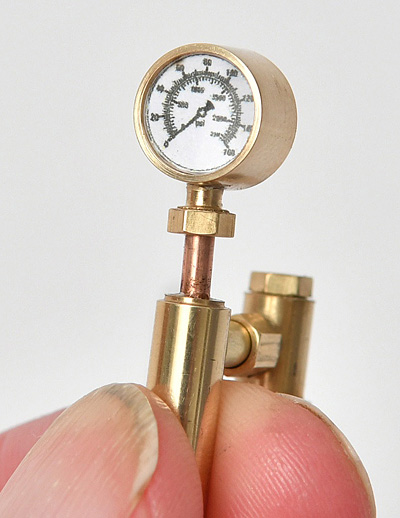
The most striking fitting features the pressure gauge. This is made from 10mm brass rod, drilled out from the front to accommodate a dial (found online, printed and cut to size). The plastic disk from a 10mm flangeless porthole is a push fit over it.
|
|
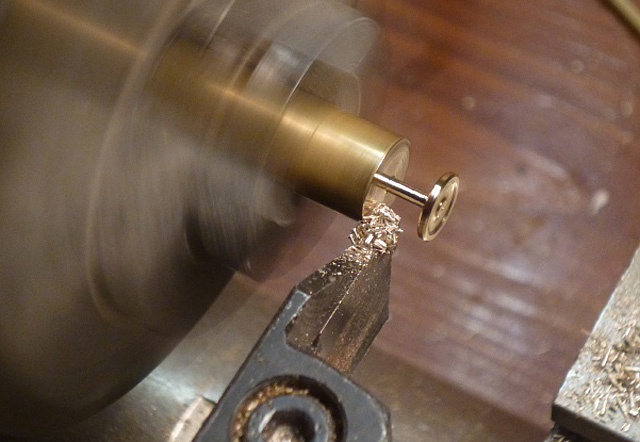
| This the handle which goes on top of one of the fittings. Design each piece so that there's either a locating rod or a locating hole for the next part - this keeps everything straight and easy to assemble. |
 |
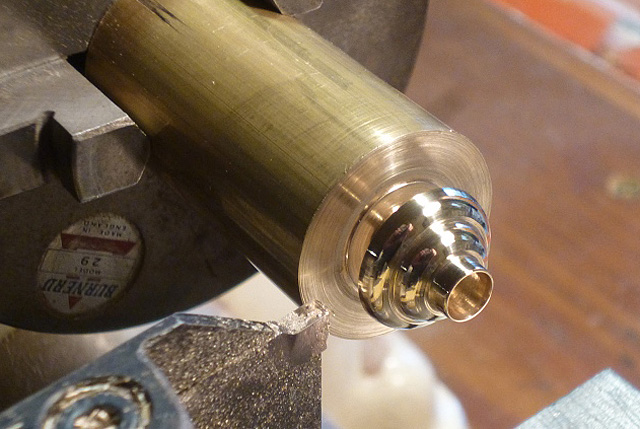
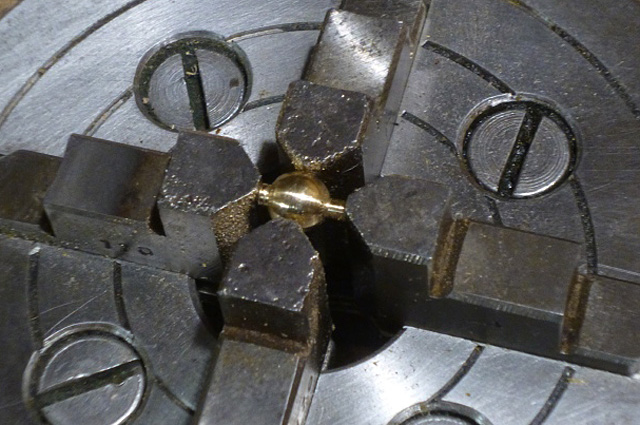
| Drilling a hole into a sphere is a bit tricky. I needed a 4-jaw chuck because the piece was asymmetric. |
 |
|
|